Table of Contents:
Growing winter onions in 13 steps for an early harvest
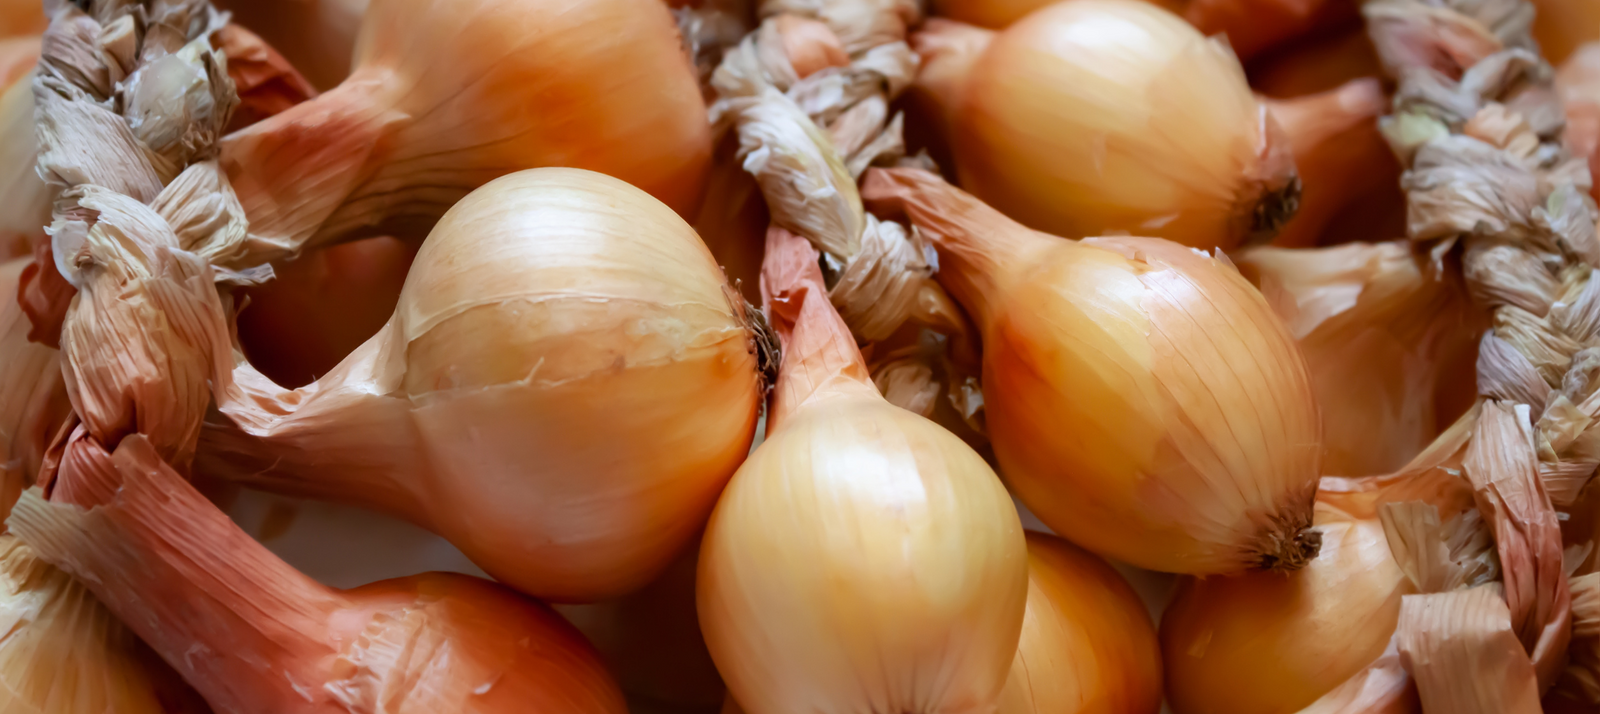
Growing winter onions guarantees you'll be the first to bring onions back to your kitchen from your vegetable garden. Winter onions are fairly large, hardy onions that can withstand low temperatures. Most of their growth occurs after the winter, but it's important that the plants develop a good root system before winter. This gives them a vegetative head start compared to the summer onions we plant out in February or March. You can grow winter onions by sowing them, but it's easiest to use sets or seeding onions. You can find the varieties available on this website here .
Introduction
Winter onions are a smart choice if you want to enjoy fresh onions from your own garden early in the spring. By planting these handy onions in the fall, you can harvest early and won't have to wait long after the winter before using them in your dishes. In this article, you'll learn why winter onions are so useful, how to best plant and care for them, and which varieties are perfect for our Dutch climate. This way, you'll be guaranteed a successful crop and can look forward to a delicious harvest from your own garden in the spring.
Lorem ipsum dolor sit amet consectetur adipisicing elit. Illum neque eaque, autem sit soluta, voluptatum libero magnam tempore ullam at harum vel, ad reprehenderit, nemo veniam quas in voluptas hic. Lorem ipsum dolor, sit amet consectetur adipisicing elit. Natus id officia omnis suscipit aut architecto repellat a quia eaque reiciendis blanditiis perferendis hic, nihil, mollitia. Iste velit aperiam, numquam dolorem.
What are winter onions?
Winter onions are a really handy seed for your vegetable garden—you simply plant them in the fall and can harvest fresh onions early in spring. These clever onions are specially selected for their cold-hardiness and develop such a fine, firm skin. This firm skin means your winter onions will last much longer than regular onions planted in the spring—super convenient! Not only do you get fresh onions from your own garden early in the year, but they're also less susceptible to disease and can easily withstand the Dutch cold. Perfect if, like us, you can't wait to get fresh produce from the garden again!
Step 1 - Start on time
Start preparing your soil in late summer or fall. You can plant your onion sets as early as August, but most gardeners wait until October when the weather has cooled down a bit. You can even wait until November, but the soil shouldn't be compacted by frost.
Step 2 - Choose a good spot in the vegetable garden
Choose a sunny spot in the garden. Winter onions are hardy enough to survive harsh weather conditions, but they still prefer a sunny spot.

Step 3: Loosen your soil well
Before you start planting your winter onions, it's really helpful to take good care of your soil. Onions love airy, loose soil where their roots can stretch out – just like we all like a little space to thrive! Grab your spading fork or digging fork and loosen the soil to a depth of about 30 cm.
This way, your onion roots will have all the space they need to grow and absorb nutrients. Do you happen to be working with heavier clay soil? No worries – simply mix in some compost or sand to loosen and improve drainage. A little extra love for your soil will ultimately result in strong plants and a delicious harvest you can be truly proud of.

