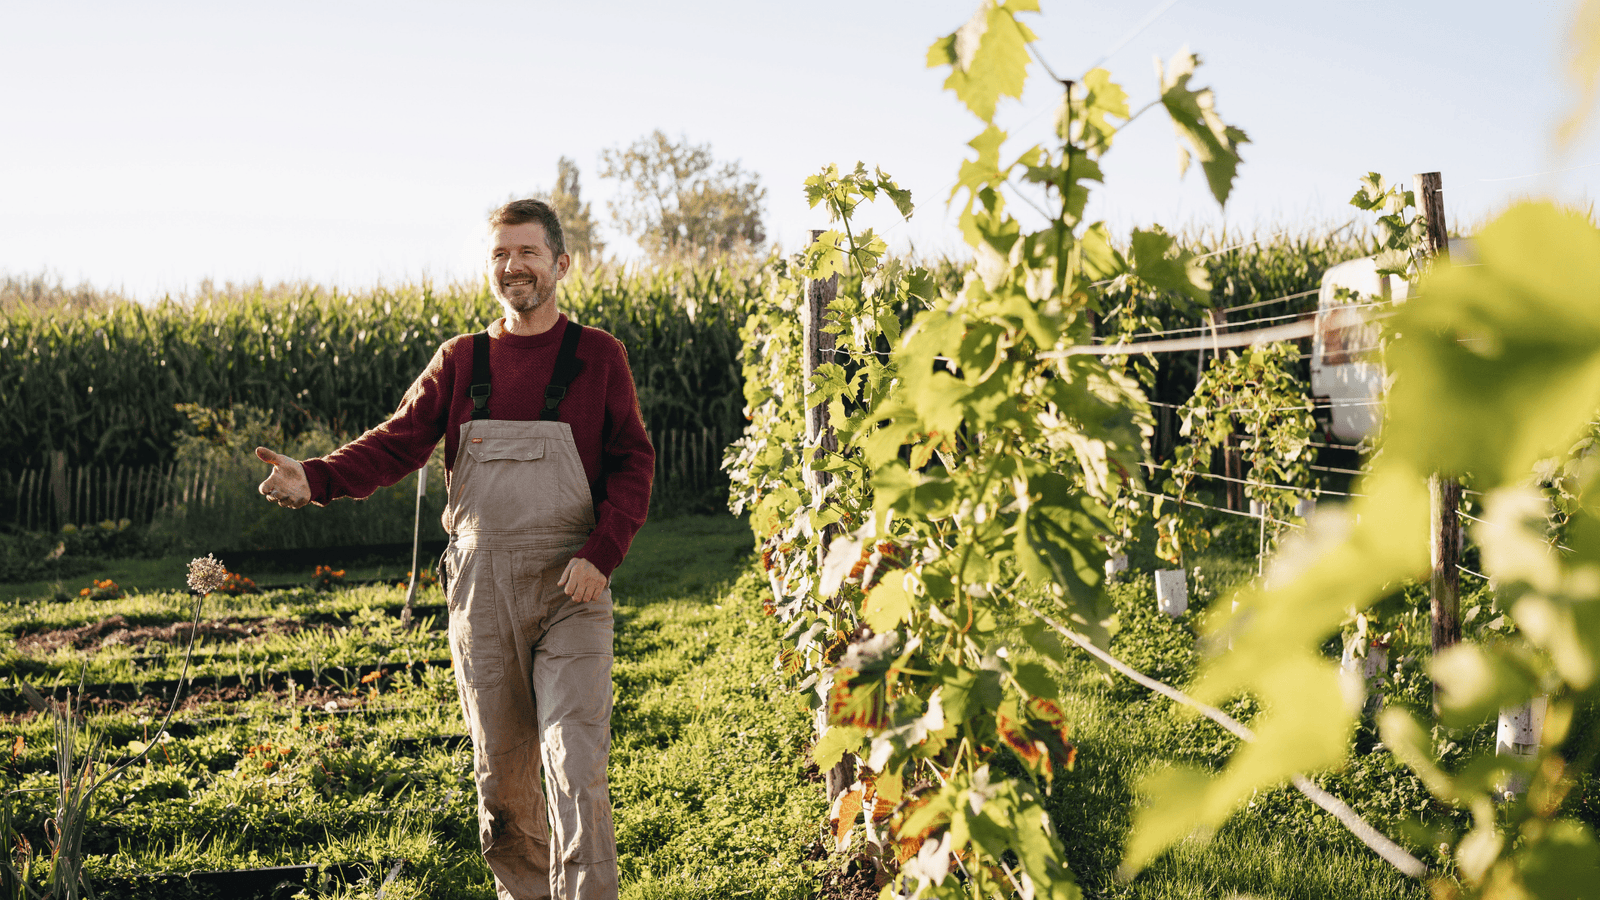
Free shipping in the Netherlands & Belgium from €75*

We send small plants from Mon to Wed so that they do not hang around in the mail during the weekend. Read more in our FAQ.

Planting a vineyard, how to start practically? Read all my tips

Een wijngaard aanleggen, hoe praktisch beginnen ?  Lees al mijn tips

Planting a vineyard, how to practically start?

Hello wine lovers, in previous articles you could already read about my passion for wine, the stumbling blocks for hobby winemakers and also which vines you can best choose. In this article I will go deeper into the practical side. How do we start with creating a vineyard?

Knowing the soil of your vineyard

When planting a vineyard, it is important to know what type of soil is in your vineyard soil.

Planting a vineyard: sandy soilPlanting a vineyard: clay soilPlanting a vineyard: clay soil

Sandy, loam and clay soil

Sandy, loam or clay soil in your vineyard

How do you know what kind of soil you have? You can easily do the test. Take a small pile of moist soil from your soil and squeeze the soil together. Try to squeeze or twist a sausage between your hands. If you can hardly do it and the soil keeps falling apart, you have a sandy soil. If you can squeeze a sausage reasonably well but you can't twist the soil between your hands into a sausage, you have a loamy soil. On the other hand, if you can perfectly twist a sausage between your hands, you have more of a clay soil.

Choosing the right rootstock for your soil

As a hobby wine grower it is important to choose the right rootstock for your vineyard soil. The difference lies in the growth power of the rootstock. Professional wine growers will however link even more criteria to their rootstock based on certain resistances, but as a hobby wine grower we will not make it too difficult.

In short: if you have a sandy soil that retains little water, you are best off choosing a rootstock Gravesac or Couderc 3309. If you have a heavier loam or clay soil, you are better off opting for a rootstock of the SO4 or Binova type. I stick to those 4 rootstocks to keep it manageable. If you are unsure which rootstock to choose, go for the SO4 or Gravesac, which does very well in our Low Countries.

The grape variety you are growing is grafted onto a phylloxera resistant rootstock (photo 1). It is planted out to allow the graft and rootstock to grow together and to create roots (photo 2). After about 1 year, the grafted vine is ready for planting out (photo 3)

The above 3 photos are property of one of our partners Viterra.be . They are pioneers in growing vines for the Low Countries.

Have a soil analysis done and do additional soil preparation or fertilization in your vineyard

Performing a soil analysis in the vineyard

There are very good soil analyses that you can have carried out. These can tell you a lot about the composition of the soil and the nutrients present. If there are deficiencies, you could still intervene. But if you know that a vine roots itself many meters deep, then you can also ask yourself the question to what extent that is necessary. Certainly as a hobby wine grower. Also know that you can still adjust via your fertilization (soil and leaf nutrition).

Fertilizing the vineyard before planting out

When planting a vineyard, it is best not to use too much fertilizer. It is better to use too little than too much. Vines that are too vigorous tend to enter a vegetative growth cycle, which promotes shoot growth rather than fruit production. Excessive vegetative growth causes shading of the renewal zone, the area where the fruit is produced in the vine for the following year.

Soil preparation in your vineyard

By soil preparation I do not mean fertilizing, but influencing the soil structure. Again, you can grow good grapes in a normal garden soil. Do not seek happiness in bags from the store, but trust in your passion and in the strength of your vines . That will also take you a long way. If you have an extreme soil: pure sand or a block of clay, then I would adjust it.

In both tough clay and poor sandy soils, you can work well-decomposed compost into the soil or some coconut fibre. Well-decomposed because we are not aiming for vegetation but for the development of the plant as a whole, not least the root system. The water and nutrients in your soil attach themselves to the organic material from the compost or coconut fibre and the soil life - from earthworms, fungi and micro-organisms - will convert organic material into humus. Humus acts as glue in your soil and holds all the particles in place. Very important for a sandy soil. A clay soil must then be broken up sooner and this can be done with perlite or lava grit. An extensive article about soil preparation is coming soon.

Orienting a vineyard in relation to the sun

The optimal orientation of vineyard rows is north to south. This prevents a canopy from facing north and thus receiving very limited sunlight. With a north-south orientation, the sunlight on both the east and west sides can pamper your canopy to the maximum. If your vineyard is a rectangle and is not perfectly south-north, then it is not a problem if your orientation is southwest - northeast, for example.

Practical considerations often play a decisive role in determining the orientation of a new vineyard planting. If the field is a long rectangle, it is more efficient to plant fewer, longer rows than many shorter rows. It also saves you on expensive end posts if you have longer rows.

Planting vineyard rows on steep slopes from high to low increases the risk of soil erosion, so planting in width in relation to the slope is often preferred. But in the Low Countries as a hobby wine grower we are very often on a flat piece.

Creating your vineyard - Planting vines

Space between rows when planting a vineyard

The most productive vineyard is planted according to the "one-to-one" rule, where the distance between rows is equal to the height of the canopy, as this is the most efficient way to capture the available sunlight. Vineyards with wider row spacing are naturally less productive, as sunlight is "lost" to the bottom of the vineyard. Vineyards with narrower row spacing will likely result in reduced grape and wine quality due to canopy shading.

If possible I would keep 1m80 between rows. As a hobby wine grower we do not drive tractors through our vineyard and 1m80 is about the height of our vines.

Planting a vineyard: vine spacing These Chardonnay and Pinor noir vines in my vineyard are planted 1m between plants and 1m80 between rows.

Creating the space between the vines in a vineyard

It seems contradictory, but up to a point it is better for productivity and maximizing the quality of your grapes to plant more vines in the row. To put it simply: "Better 28 bunches from 2 plants that are 1 meter apart, than 28 bunches from 1 plant that is 2 meters away in the row from its next neighbor. Why? The two vines, that can release their energy in 14 bunches, will produce much better and riper fruit than the vine that has to ripen 28 bunches.

But of course we can't plant our vines 10 cm apart, let's say that 1 meter to 1.5 meters planting distance in the row is good. I will briefly give the aspects that play a role.

  • The potential of the soil : The first phenomenon that plays a role in your choice of planting distance of the vines in the row is that the optimal distance between the vines is determined by the potential of the soil. Soils with a higher fertility, water retention capacity and a greater rooting depth have a greater capacity for the growth of vines. You could therefore plant your vines at a greater distance. Soils with a low potential require a smaller distance between the vines to achieve an optimal yield and quality.
  • The grape variety and/or rootstock : A grape variety or rootstock that is naturally very productive can be planted slightly further apart than a variety that is not as vigorous. Often the growth force must be curbed in vigorous varieties to ensure the quality and optimal ripening of the fruit.
  • Canopy Filling : If you plant your vines too close, the canes can block each other’s sunlight. If you plant them too far away, the gaps in the canopy can be missed opportunities.

Some videos from my first year of my vineyard

https://youtu.be/ULuaeaMyKKw?si=-lAwC97LndB6ZR_D

https://youtu.be/bSxk2yo5LCE?si=cS7c__VApZ1Fg-wb

https://youtu.be/ba_x0-f6DVw?si=lCFWNoWYvf5AQdS8

https://youtu.be/ffGY6xBfmH4?si=7RhHxxWITLigA1Fw

Planting a vineyard: Planting the vine, putting it in the ground, supporting it, ...

There you are, your vines are in the house, you have determined the ideal position of your vineyard, the places of your vines are marked, ... your heart rate goes up.

Planting a vineyard: soaking your vines in water for 24 hours These are the vines of vineyard friend and customer Tim Joris

Preparing your vines for planting out

If your vines have arrived by post or you have picked them up somewhere yourself, it is important that they are given the chance to soak up water again. During transport from the distributor to you, some moisture may have escaped. Therefore, put your vines in a bucket or container with water 24 hours before planting and place them outside in the (semi)shade. This will give them time to recover. If you cannot plant them out immediately, you can mist the roots of the vines again with a plant sprayer and put them back in the bag in the refrigerator. This way you can store them for a while. Place your refrigerator as high as possible, but make sure that the back wall or the refrigerator itself does not freeze.

Planting your vineyard: Making the planting hole for your vines

The condition of your soil will determine how you will make the planting hole. If you have worked your soil mechanically, you can make a planting hole with a shovel. If the soil is still very compact, you can use a 10 cm diameter soil drill . In principle, a planting hole of +/- 40 cm is sufficient, but to make it easier to work, I suggest that you make your planting hole 50 cm deep.

A soil drill can be very useful in compact soil

Trimming the roots of your vines when planting your vineyard

When your vines arrive, the roots are +/- 10 to 20 cm. For planting out, you can shorten them to a fist or +/- 8 cm. Shortening the roots makes planting out more practical and stimulates new root growth in your new plant. Spontaneously, the roots will open up a bit as if it were a teepee.

Trimming the roots of your vine

Putting a vine in the ground, finally...

We have a planting hole and a shortened vine. We are ready to plant out. You can simply put your vine in your planting hole and fill the planting hole with soil. I will use another trick.

Remember the planting hole that is a little deeper when you plant? It is useful if your vine is completely under the ground when you plant it. That is of course not the final stage. But if you fill the planting hole with soil, you can gradually pull the vine up to the desired height by shaking. For example: You put 10 cm of soil in the planting hole, and by shaking you bring your vine 2 cm higher. This way the soil can fall nicely around the roots of your vine. If we have done this twice, we can water it once. This way the soil fits nicely around the roots. Repeat this (adding soil, shaking your stick and watering it) until you see that the roots are covered with washed-up soil and your rootstock is also visible 1 to 2 cm above the soil. Then fill the rest of the soil in the planting hole and water it well.

A planted young vine

Professional winegrowers would roll their eyes in their sockets or laugh up their sleeves with this method, but here we as hobby winegrowers can make a difference. If your roots point in the right direction right away and have room to expand with root hairs, then we make a flying start. It may be all in my head, but psychologically it feels good :)

Place a plant rod or plant stick next to your plant

In the first weeks after planting, the first shoots or shoots will emerge from the graft of your vine. The intention is that after a while we will tie up the best shoot vertically. The article that follows (year 1) explains this in more detail. But in short, you place the plant rod to tie up your best shoot vertically later. That vertical position is already important for the future vine.

A stabfix clamp holds the Vinotto against the first wire

As a planting rod I prefer the Vinotto's in fiberglass of 7mm . They are durable, do not rust or rot and also have a bit of flexibility to absorb shocks. There are also the classic iron plant rods of 6mm that also do very well.

Place the plant rod 1 to 2 cm next to the plant. Hitting a root is not a disaster. You do not have to do anything at the moment other than keep your young plant moist for the first few weeks. In 1 to 2 months we will install our poles and wiring. If you have already done that, you can clamp your plant rod to your first wire with a stabfix connector . In a next article about supporting your vineyard, we will discuss poles , wires , anchors , wire tensioners , ...

Planting your vineyard: A protective cover over your plant against rabbits or hares

Finally, for those living in rural areas, it is important to protect your young vines from animals that target the young shoots of your vine.

These two-year-old canes still have their protective netting. Once the trunk has formed, it can go.

You can slide a protective tube or net over your sticks and lightly bury or earth them up so that your young shoots do not fall prey to animals with long or short ears.

The vineyard stakes keep your wire nice and tight

A row of vines in the Guyot simple pruning method that we use gets 7 wires. These wires are supported by vineyard poles. There are end posts and intermediate posts. You secure the end posts to the ground with a ground anchor and with an anchor cable . You place the end posts slightly slanted outwards. That is why the end posts are also somewhat longer (270 cm) than the intermediate posts . The end posts are made of thicker steel and are much stronger. They have to support a lot of weight, the horizontal tension on your wires. The intermediate posts only have to hold up the wire, the vertical tension. These posts are lighter. If you have short rows, you can also consider using two intermediate posts as end posts.

End post

intermediate post

Place a plank on top of the posts when you hammer them into the ground. This way you do not damage the galvanization. The galvanization prevents your posts from rusting.

Stretching your wires to support your canopy wall

In the Low Countries your foliage wall is very important. Because we get less (intense) sun, we need a very healthy foliage wall. This is quite high enough so that the solar panels of your vines (the leaves) can absorb as much light as possible and convert it into sugars for your grapes.

This is an easy wire tensioner

I work with 7 wires . My wires hang on (measured from the ground):

  • 70 cm (single wire)
  • 110-120 cm double wire. You can hang parallel but I put them +/- 10 cm apart so that I can weave my runners in between. If you hang the wires at the same height, your foliage wall sometimes falls over and that is bad for the compaction of your foliage wall > fungi. If you have 100 sticks or less, you can easily weave your runners between the wires . Walk through the vineyard once a week and the job is done.
  • 150-160 (idem)
  • 200-210 (idem)

TIP: Do not weave your foliage wall through the wires too quickly, the shoots are fragile at first and can break. Also weave the first time for the selection of your shoots (8 shoots on 1 plant).

As wire tensioners you can use the traditional washing line tensioners or the more user-friendly Gripples .

Finally

For now, enjoy your planting out, take your time and dream of tables with your family and best friends around them enjoying a glass of your passion.

I hope this article has helped you clearly, completely and in plain language with the planting of your hobby vineyard. If there are any mistakes or if you have any questions, please write them in the comments below.

If you find this information valuable, then definitely consider purchasing your vineyard supplies from our webshop . This way you make it possible for even more infotainment around the hobby of viticulture to be added to this website.

A fruity, full and vinous greeting,

Tom

2 comments

Heel leuk en leerzaam artikel!
Helaas werken de links naar o.a. de webshop en overige verwijzing niet door. Dat deel is dus niet leesbaar.

Geef dit even door aan je websitebouwer, hij/zij kan het verhelpen.
Groet,
Kiki

Kiki Bernt,

Heel leuk en leerzaam artikel!
Helaas werken de links naar o.a. de webshop en overige verwijzing niet door. Dat deel is dus niet leesbaar.

Geef dit even door aan je websitebouwer, hij/zij kan het verhelpen.
Groet,
Kiki

Kiki Bernt,

Leave a comment